PEAK Critters Guide: Capybaras, Beehives, the Early Worm and Antlions
Every critter on the PEAK daily map: where capybaras, beehives, Early Worms and antlions spawn, what they give or take, and the badges tied to each.
FAQ
Where are the capybaras in PEAK?
How do I get honey without getting stung to death?
What does the Early Worm do?
How do I survive an antlion?
The four critters
PEAK has only a handful of living things you can interact with, and the daily map tracks four of them. Their positions are part of the island, so every lobby sees the same critters in the same places until the 17:00 UTC reset. Two are friendly, one is a snack, and one is a trap.
| Critter | Biome | Per island (current pool) | Reward | Danger | Badge |
|---|---|---|---|---|---|
| Capybara | Alpine hot spring or Mesa oasis | 2 to 3, every day | Yellow Winterberry, a pool that clears Cold or Heat | None | Animal Serenading, Gourmand |
| Beehive | Tropics | 1 to 5 on Tropics days | 4 Honeycombs | Bees: 2.5 Poison per second | Gourmand |
| Early Worm | Gloom | 20 on Gloom days | Clears Drowsy, 5 Hunger | None | Well Rested |
| Antlion | Mesa | 1 or 2 on every Mesa day | None | 20 Injury per hit, knockback | Megaentomology |
All counts come from our maps across the current 208-island pool. Patch 3.0.0 also places beetles, spiders, flytraps, scorpions and frogs, and the daily map marks those too. The four rows above are the critters whose rewards and badges this page covers.
Capybaras
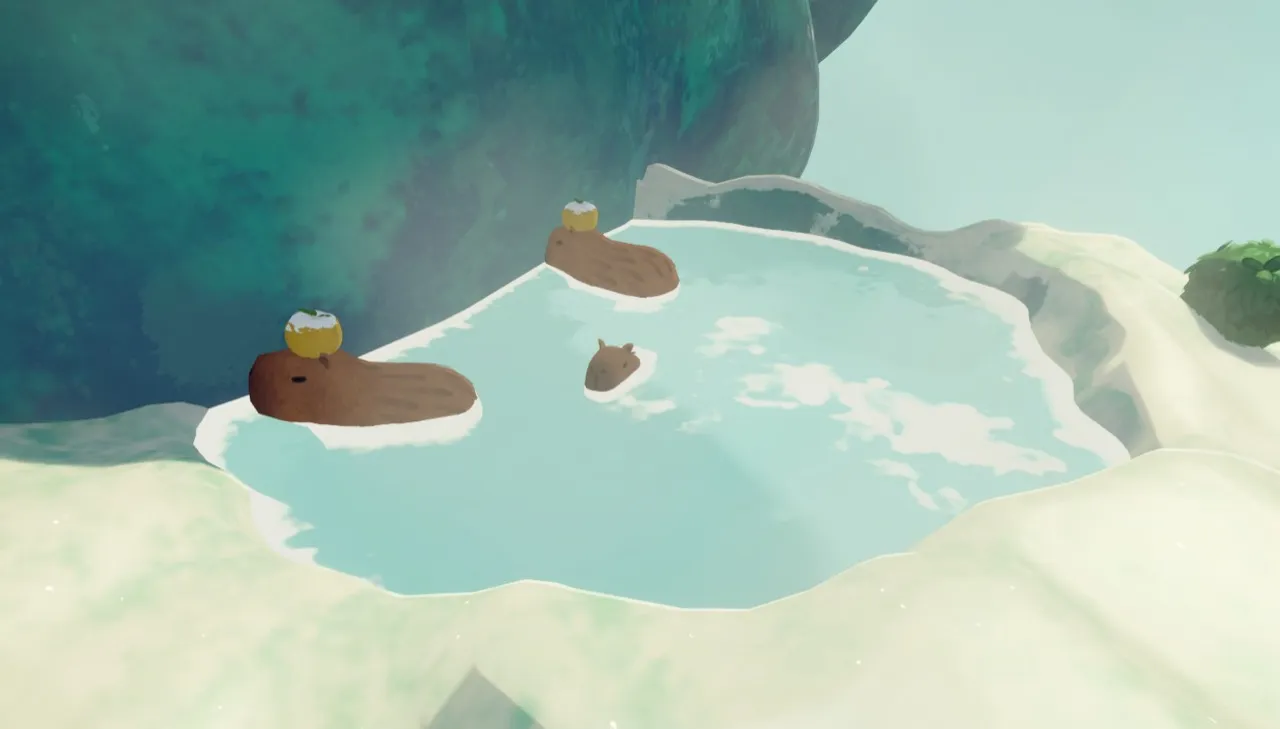
Capybaras in the hot spring · PEAK Wiki (CC BY-SA 4.0)

Capybaras only live in water: the steaming hot spring in the Alpine or the cold oasis on the Mesa plateau. Since the third region is always one or the other, every island has capybaras. On our maps the Alpine always has three and the Mesa always has two, so an island has two or three in total.
They do not move or attack. What makes them worth the detour:
- Yellow Winterberry. At least one capybara in every group carries one on its head. In the Alpine it is one to three; at the oasis one capybara always holds the berry while the other wears a cowboy hat. The berry heals Injury and is one of the four foods for Gourmand.
- The pool itself. Standing in the hot spring removes Cold and shelters you from blizzards. The oasis removes Heat, which can rescue a Mesa crossing.
- Animal Serenading. Play a Bugle, Bugle of Friendship or Scoutmaster’s Bugle near them.
The hot spring’s position changes with the island. From the base of the Alpine, look for rising steam: apart from the campfire at the top, the spring is the only smoke on that cliff, and Binoculars help. In the Mesa, be careful: the oasis and its capybaras can appear as a mirage that vanishes as you approach. Ping it first; if the ping lands on the water, it is real. More detail is in the Alpine guide and the Mesa guide.
Beehives
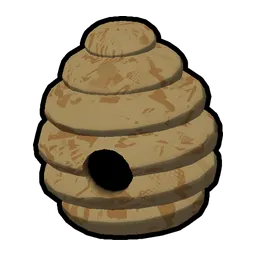
A beehive · PEAK Wiki (CC BY-SA 4.0)

Beehives hang from trees in the Tropics and nowhere else. On our maps every Tropics day had at least one, with an average of about 3.5 and a maximum of five. On Roots days there are none, although Honeycomb can still turn up inside Redwood stumps there.
A beehive is a carryable item weighing 10. Break it and you get four Honeycombs. Each one removes 10 Hunger and gives 50 bonus stamina; cooked, that rises to 20 Hunger and 75 bonus stamina. Cooking the whole hive cooks all four combs at once. A cooked Honeycomb is one of the four Gourmand foods.
The catch is the swarm. Bees attack anyone who gets close to the hive or takes it, and once angry they chase the nearest scout for 2.5 Poison every second. They only calm down when the hive is dropped and you are far enough away. The reliable method:
- Grab the hive and throw it so it breaks on impact. If it does not break, the bees will not leave.
- Run until the bees stop following and drift back to the combs.
- Wait for the swarm to disperse, then collect the Honeycombs.
You can also simply carry the hive far enough that the bees lose interest. Since patch 1.25.a the hive cannot go in a Backpack, so it occupies your hands. A buzzing sound gives away a nearby hive; with Bug Phobia Mode on, the bees squeak instead.
The Early Worm
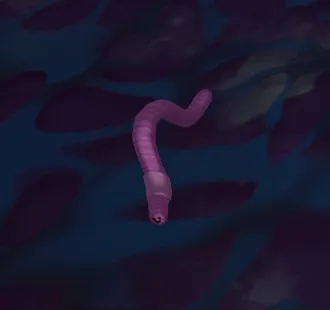
The Early Worm · PEAK Wiki (CC BY-SA 4.0)

Added in patch 2.0.a, the Early Worm crawls in small circles on the ground of the Gloom. On our maps it is the most common critter by far: exactly 20 on every Gloom day, and none on Caldera days.
It weighs nothing. Eating one removes 5 Hunger and clears all Drowsy, which is exactly what the Gloom’s fog piles on, so a worm or two in your pocket can stop a teammate falling asleep mid-climb. The first one you eat earns Well Rested. Cooking it stops it wriggling but adds no bonus.
Listen for its distinctive crawling sound when you are close. See the Gloom and Citadel guide for the rest of the biome.
Antlions
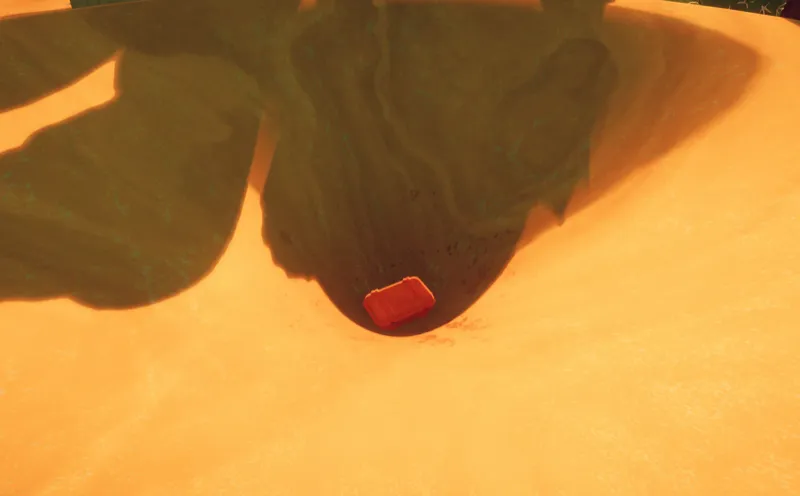
An antlion pit · PEAK Wiki (CC BY-SA 4.0)

The only hostile critter on the list. An antlion waits at the bottom of a sand funnel in the Mesa, with a fake explorer’s luggage in the middle as bait. On our maps every Mesa day has one or two: 97 of 103 Mesa days have two, and 6 have one.
How the trap works:
- When a scout comes within 19.2 m, the fake luggage sinks into the sand and the antlion emerges.
- It repeatedly strikes the nearest scout within 8 m for 20 Injury per hit and knocks them back.
- While it is active, the sand flows downhill and drags everyone toward the centre.
- It burrows back once nobody is within 25.6 m. The bait never returns, but the antlion attacks again if someone re-enters.
Take damage, then get at least 48 m away without dying, and you earn Megaentomology. The safe way is to have one healthy scout trigger it from the edge and climb straight out while teammates wait above.
How to find them on today’s map
- Today’s critters lists all four types with their region.
- Today’s capybaras, beehives and antlions have a page each.
- The interactive map has a Critters layer, so you can see a pit or hive next to the luggage around it.
The biome lineup decides which critters exist at all: Tropics days have beehives, Mesa days have antlions and two capybaras, Alpine days have three capybaras, and Gloom days have Early Worms. How the daily map works explains the rotation.
Tips
- Hunting Gourmand? Pick a Tropics day for Honeycomb and grab the capybara’s Yellow Winterberry later. Cook everything before you eat it.
- Bring a Bugle on Alpine and Mesa days for Animal Serenading; it is quick once you reach the pool.
- Use the pools. A minute in the hot spring or oasis resets Cold or Heat for free.
- Stock worms before the Citadel to clear Drowsy from the fog and luggage traps.
- Treat lone explorer’s luggage in the Mesa sand as an antlion until today’s map says otherwise.
Common mistakes
- Opening a beehive in your hands. Throw it so it breaks; otherwise the swarm keeps chasing you.
- Running back for the combs too soon. Wait until the bees have gone.
- Walking into a mirage oasis in the Mesa when you actually need to cool down. Ping first.
- Fighting the sand in an antlion pit at low health. Each hit is 20 Injury; leave immediately.
- Expecting worms on Caldera days. They only exist when the fourth region is the Gloom.
For every badge mentioned here, see the badge list.
Related Articles
guides
PEAK Bing Bong Badge: Where He Spawns and How to Escape With Him
Find Bing Bong on today’s Shore map, keep the plush safe in a Backpack, and escape for the Bing Bong badge — Propeller Hat reward and lobby-wide unlock rules.
guides
PEAK Gourmand Badge: Four Foods and Where to Find Them
Cook and eat Half-Coconut, Honeycomb, Yellow Winterberry and Egg in one escape — where each Gourmand food spawns, plus Mesa oasis clip tips.
biomes
PEAK Alpine Guide: Blizzards, Cold, Hot Spring and Route Tips
How to survive the Alpine in PEAK: blizzards and Cold, icicles, geysers and flash bulbs, the hot spring capybaras, food, variants and the Alpine badges.
Was this helpful?
Thanks for the feedback!