PEAK Shore Guide: Crash Site Loot, Jellyfish, Urchins and Route Tips
How to clear the Shore in PEAK: what to grab at the Crash Site, jellyfish, giant urchins and bridges, beach variants, food, luggage counts and the Shore statue.
FAQ
What should I take from the Crash Site?
How dangerous are jellyfish?
Is there an Ancient Statue on the Shore?
Does the Shore change from day to day?
Overview
The Shore is where every expedition starts: a long beach on the edge of the island, a flat stretch of rock pillars and palm trees behind it, and a cliff that leads up to the first campfire. It never rotates out, so it appears on all 208 days of the current map pool. Lighting the campfire at the top opens the way to the Tropics or the Roots and gives every living scout the Beachcomber badge.
| Shore | |
|---|---|
| Region | 1 (every day) |
| Main status | Poison (jellyfish and urchins) |
| Areas | Crash Site, Backshore, Cliff |
| Badges | Beachcomber |
| Ancient Statue | 1, every day |
| Next region | Tropics or Roots |
It is the easiest region in the game, but it is also where most runs are quietly won or lost: what you pick up here is often all you have for the next hour. Today’s Shore map shows the current layout with every box and statue marked.
Terrain and route
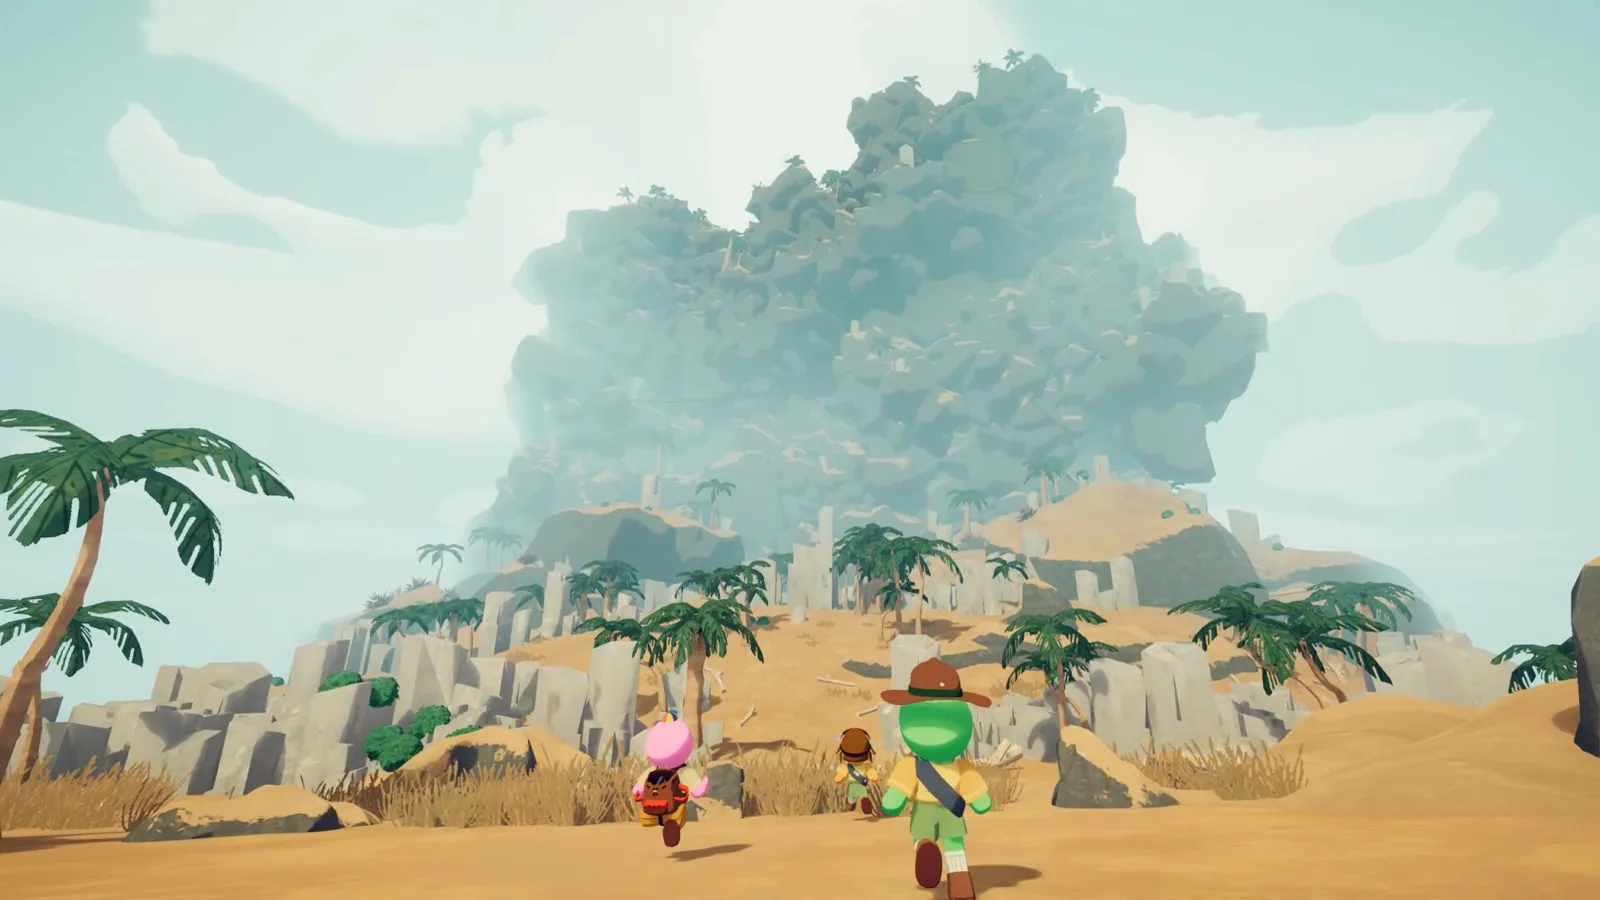
Scouts running across the Backshore toward the cliff · Screenshot: PEAK Steam store page © Aggro Crab & Landfall
Crash Site
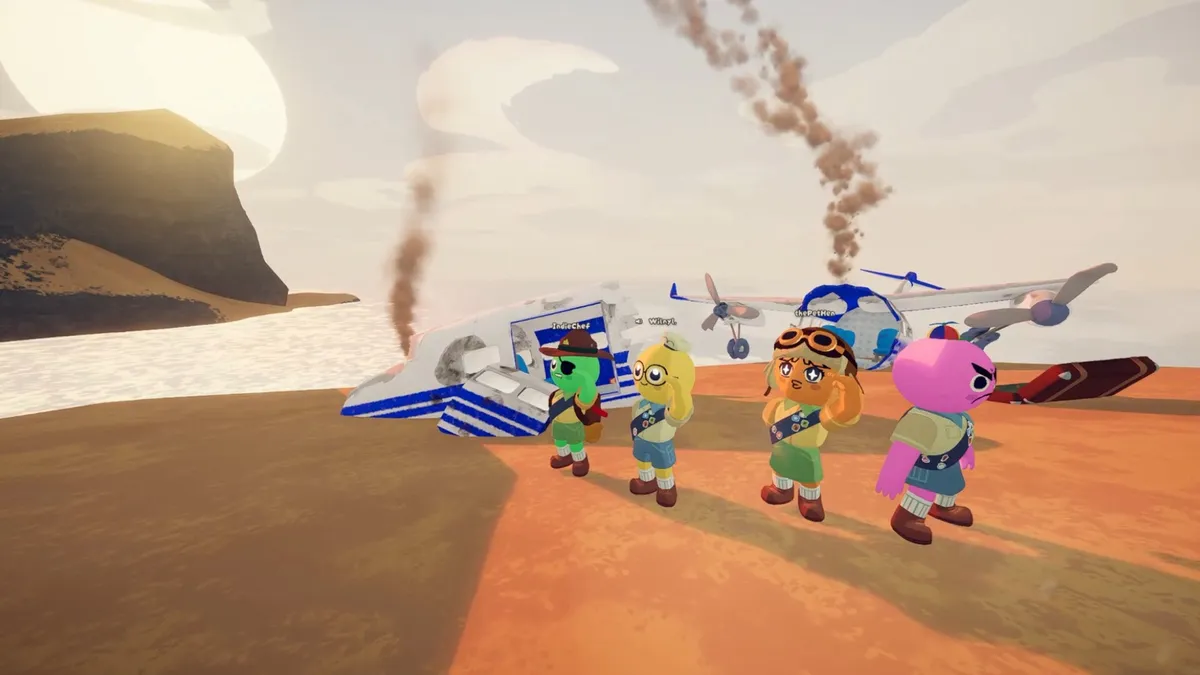
Everyone wakes up next to the wreck of the plane. A small fire still burns in the wreckage and works like a campfire, so you can cook food before setting off. A regular luggage and a big luggage always spawn by the plane, along with a fixed set of items:
- Backpack, Lantern, Flare and Bugle
- Compass, Guidebook, Binoculars, Flying Disc and the Bing Bong plush, which only ever spawn here
Backshore
Behind the beach is a fairly flat plain of tall, many-sided basalt columns and palm trees. The rocks are low and easy to scale, so this is the place to get a feel for climbing while your stamina bar is full. Long sightlines make it easy to keep the group together and spot anyone who wandered off to a box.
Cliff
The rest of the Shore is a cliff. It is shorter than the walls you will meet later, but this is where the hazards start to stack up, and where a bad fall costs real time. Bridges link parts of the cliff together, and the terrain smooths out near the top, where the campfire waits.
Hazards
| Hazard | What it does | How to handle it |
|---|---|---|
| Jellyfish | 5 Poison and a 2-second ragdoll on contact, anywhere in the biome | Look before you step onto a ledge you cannot see |
| Giant urchins | 10 Poison every second while you touch one | Never rest against one; climb around it |
| Bridges | Each has a hidden weight limit of 1 to 5 scouts and breaks a few seconds after it is reached | Cross one at a time |
Jellyfish are hard to spot on purpose (an early patch made them even harder to see). The Poison is small; the ragdoll is the problem, because tripping at the edge of a ledge can send you all the way back down the cliff.
Beach variants
The Shore rolls one of six looks. Most days you get the default beach; Blue Beach, Red Beach and Black Sand are rarer. Black Sand also packs in far more giant urchins and swaps the bridges for chains. Jelly Hell raises the number of jellyfish, and Snake Beach adds large, winding rock formations. The variant is fixed for the whole day, like the rest of the island.
Food and items
The Shore is light on food, but what it has is useful:
- Coconuts grow on the palm trees. Climb the tree or throw something at the coconut to knock it down, then break it into two Half-Coconuts. Coconuts remove Heat, which matters later in the Mesa or the Caldera. Be careful where you throw a whole one: it bonks any scout it hits and knocks them over.
- Crispberries: red is safe, yellow gives bonus stamina, green is poisonous.
- Medicinal Root heals Injury.
- Button, bugle and cluster shrooms, each with a poisonous look-alike, plus the safe Chubby Shroom.
- Natural items: Shelf Fungus, Remedy Fungus, Warp Fungus and Magic Beans.
The conch shells scattered on the beach are only decoration. You can carry and even cook them, but they do nothing.
Luggage and markers
On our maps the Shore averages 11.9 regular luggage (up to 18) and 5.8 big luggage (up to 12) per day, including the guaranteed pair at the Crash Site. That is fewer than the Tropics, Roots, Alpine or Mesa, so do not expect the Shore to fill your bag.
The rarer boxes are hit and miss:
| Box | Average per day | Most seen |
|---|---|---|
| Explorer’s luggage | 1.3 | 5 |
| Ancient luggage | 0.7 | 4 |
| Clown luggage | 0.2 | 3 |
Ancient luggage shows up on 98 of 208 days, and clown luggage on 42 of 208, so the Shore is a poor start for the Jester badge. The luggage types guide explains what each box can hold.
The Shore always holds one of the four Scout amulets. Which one it is changes by island. Check today’s amulets before you leave the beach.
The Ancient Statue
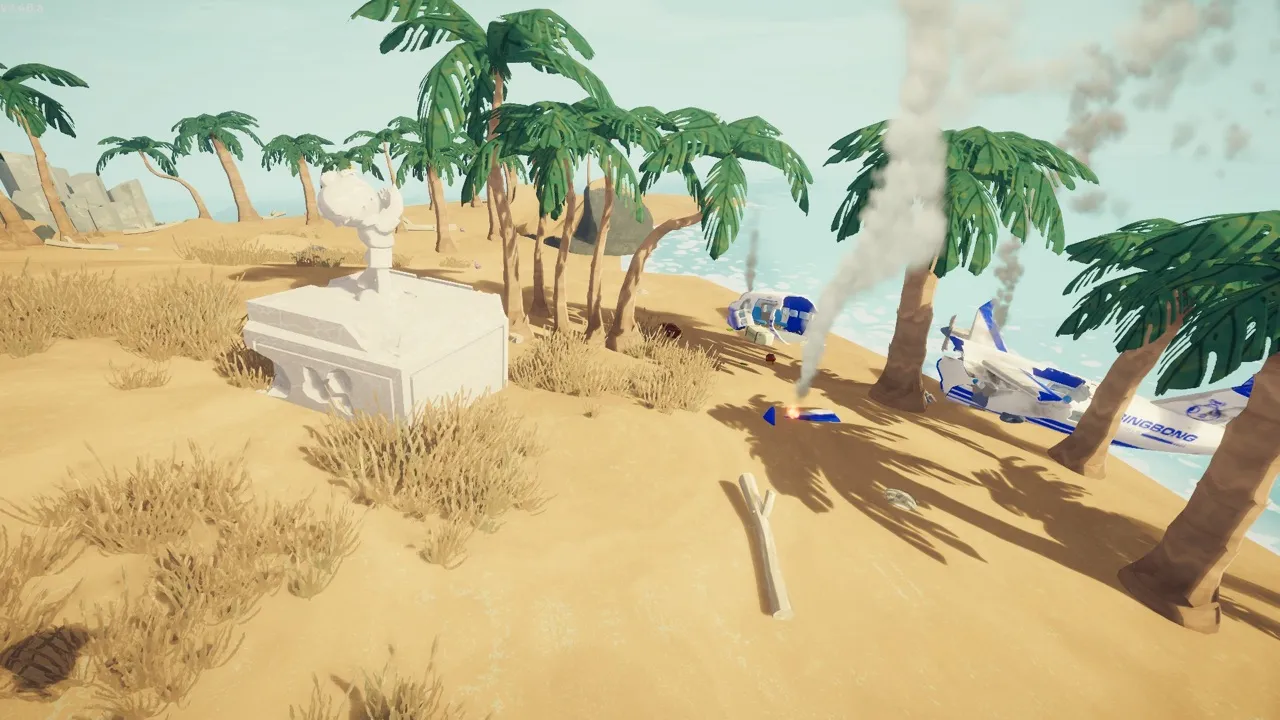
The Shore statue near the crash site · PEAK Wiki (CC BY-SA 4.0)

Every island in the current pool has exactly one Ancient Statue on the Shore. Interact with it and it crumbles: dead or unconscious scouts come back with 30 Hunger and +5 Curse (+15 on Ascent 7); if nobody is down, it gives a random mystical item instead.
Because the Shore is easy, nobody is usually dead when you pass the statue. That makes it tempting to cash it in for a mystical item. Think twice: a statue only works once, and the next one is a whole region away. The revive guide covers every way to bring a teammate back.
Related badges
| Badge | Requirement | Shore connection |
|---|---|---|
| Beachcomber | Climb past the Shore | Light the top campfire |
| Bing Bong | Escape the island with Bing Bong | The plush is at the Crash Site |
| Ultimate | Catch a flying disc from 100 m away | The Flying Disc is at the Crash Site |
| Astronomy | Look at the blazing sun through binoculars | Take the Binoculars to the Mesa |
| Gourmand | Escape after cooking and eating a Half-Coconut, Honeycomb, Yellow Winterberry and an Egg | Coconuts grow here |
| Foraging | Eat 5 different berries in one expedition | Three crispberry colours to start with |
The rest are in the full badge list.
Tips
- Loot the wreck as a team. Decide who carries the Backpack, Flare and Lantern before anyone runs off.
- Cook at the wreck. The Crash Site fire saves you a stop if you already picked up something to cook.
- Ascent 4 and up: the flare crate at the Peak is empty, so the Crash Site Flare is the only one you are guaranteed. Skip it only if you plan to escape through Nadir.
- Ascent 5 and up: nights are cold, and the Lantern is close to essential. See the Ascents guide.
- Peak difficulty and up: fog rises through the Shore, so you do not have time to sweep every corner. Use today’s map to plan which boxes are worth it.
- Use the easy terrain to practise. Route-reading and stamina management on the Shore pay off on the harder cliffs ahead.
Common mistakes
- Leaving the Crash Site empty-handed. Several of these items exist nowhere else on the island.
- Piling onto a bridge. The limit is hidden, and you will not know it until the planks give way.
- Climbing blind over a ledge. That is exactly where jellyfish knock you back down.
- Hugging an urchin to rest. At 10 Poison a second, a short pause hurts more than a detour.
- Spending the statue on a mystical item when the hardest regions, where people actually die, are still ahead.
- Lobbing coconuts at the group. A whole coconut bonks whoever it hits, and a ragdolled friend on a cliff is a falling friend.
Related Articles
guides
PEAK Bing Bong Badge: Where He Spawns and How to Escape With Him
Find Bing Bong on today’s Shore map, keep the plush safe in a Backpack, and escape for the Bing Bong badge — Propeller Hat reward and lobby-wide unlock rules.
biomes
PEAK Alpine Guide: Blizzards, Cold, Hot Spring and Route Tips
How to survive the Alpine in PEAK: blizzards and Cold, icicles, geysers and flash bulbs, the hot spring capybaras, food, variants and the Alpine badges.
biomes
PEAK Caldera and Kiln Guide: Lava, Condors and the Final Climb
How to cross the Caldera lava lake and climb the Kiln in PEAK: rising lava, eruptions, condors, petrifying stones, gear to save, and how the run ends.
Was this helpful?
Thanks for the feedback!